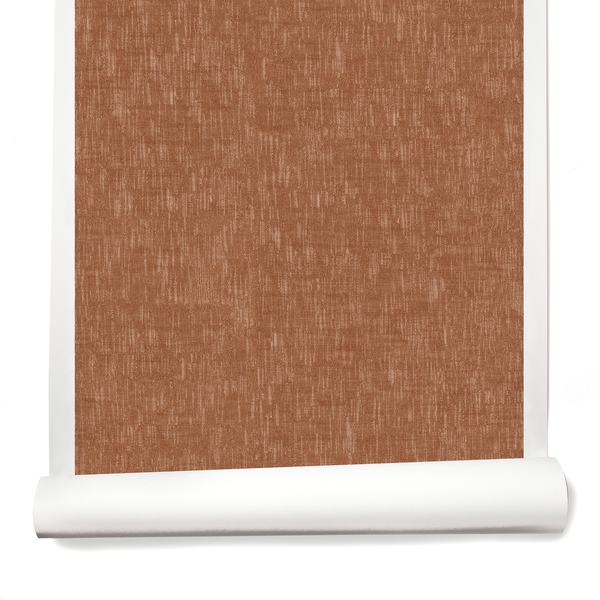
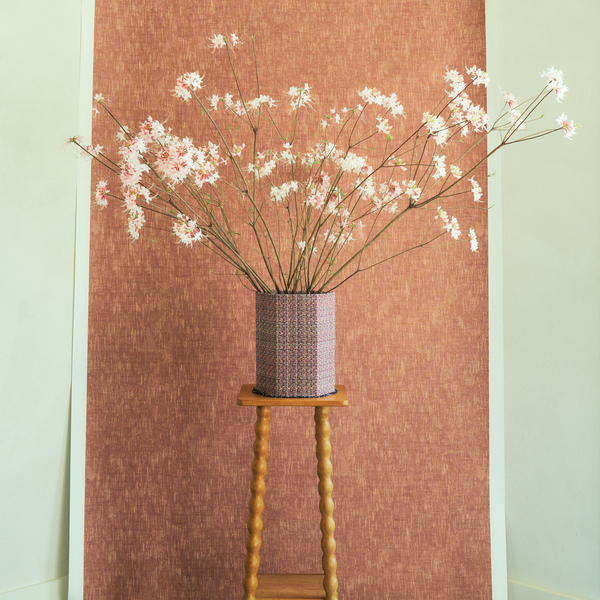
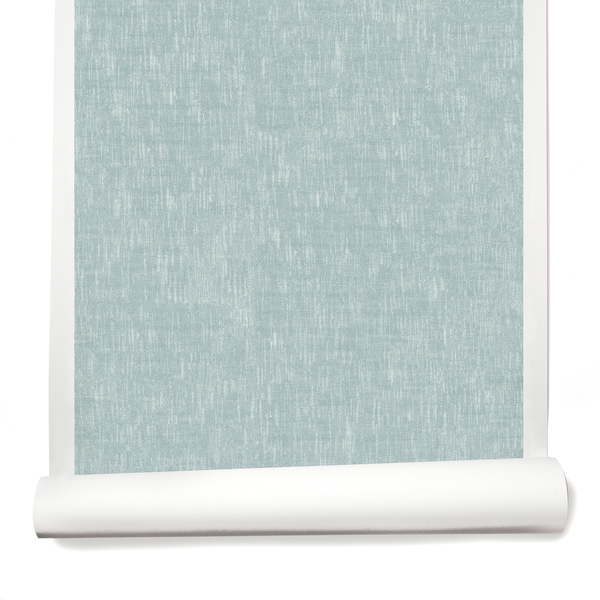
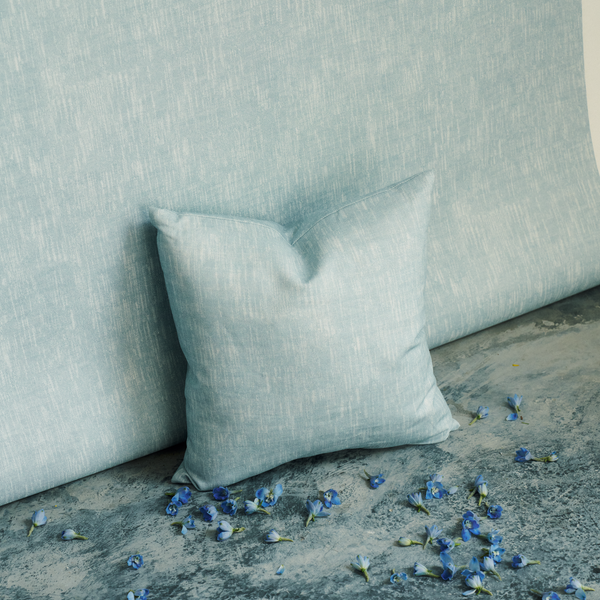
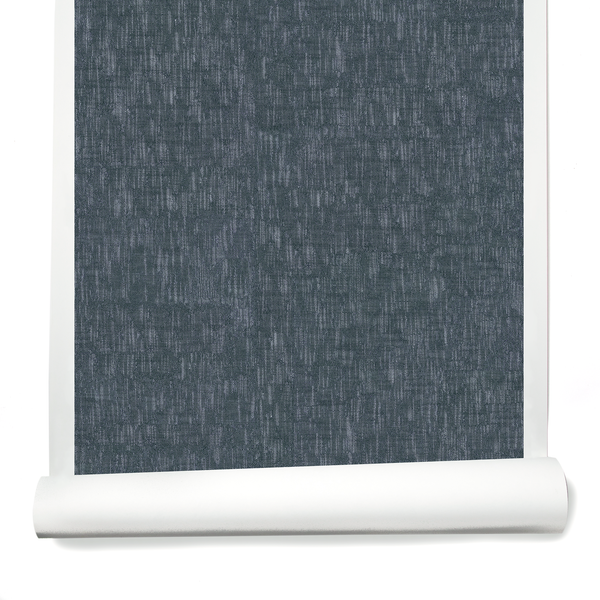
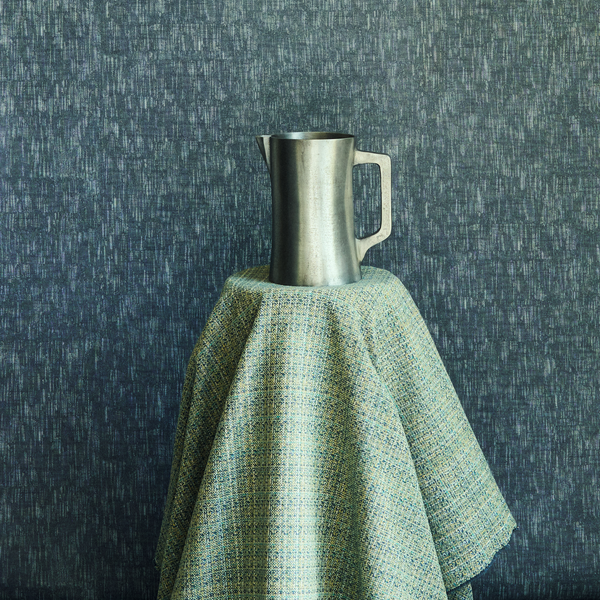
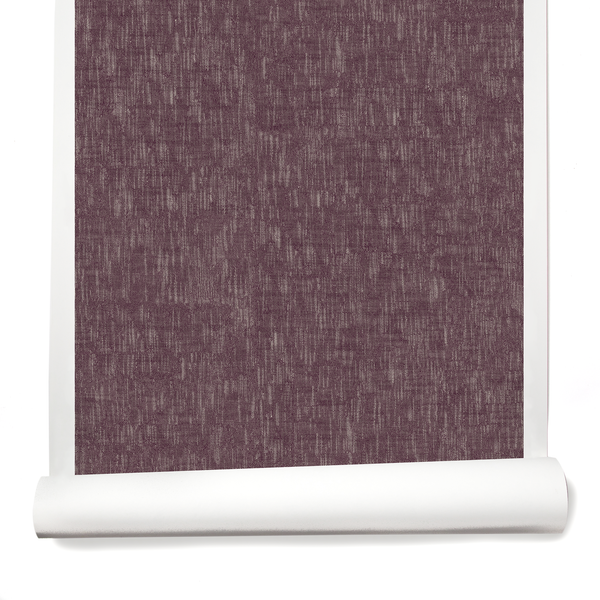
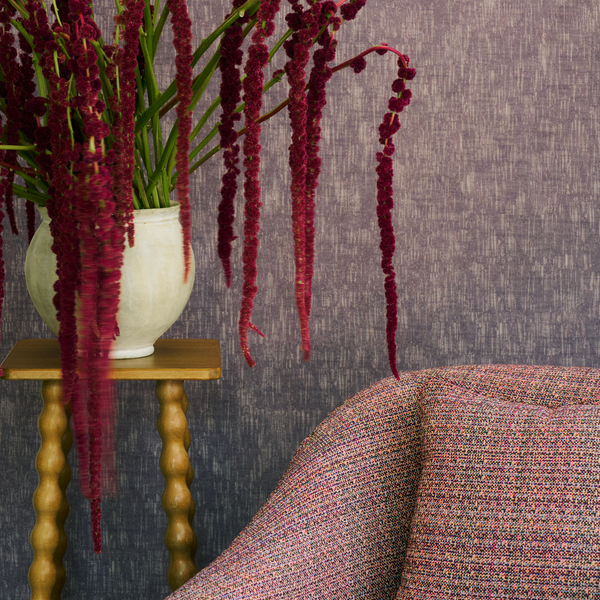
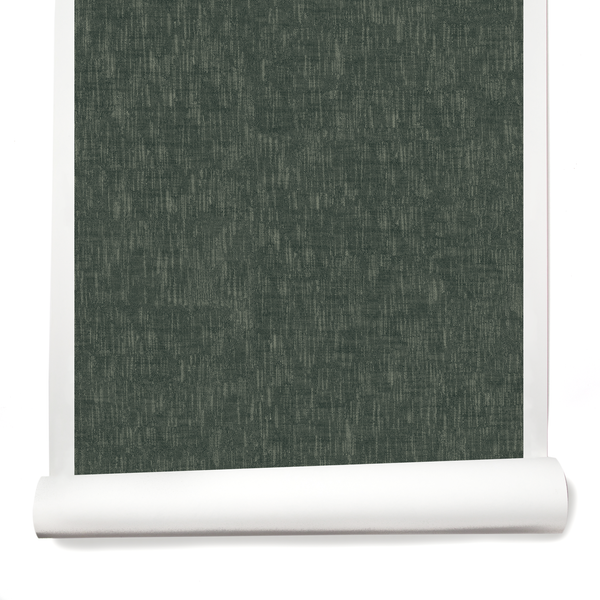
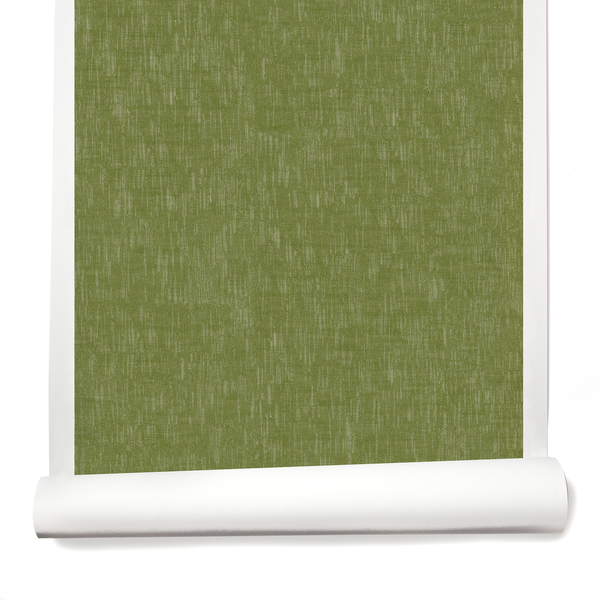
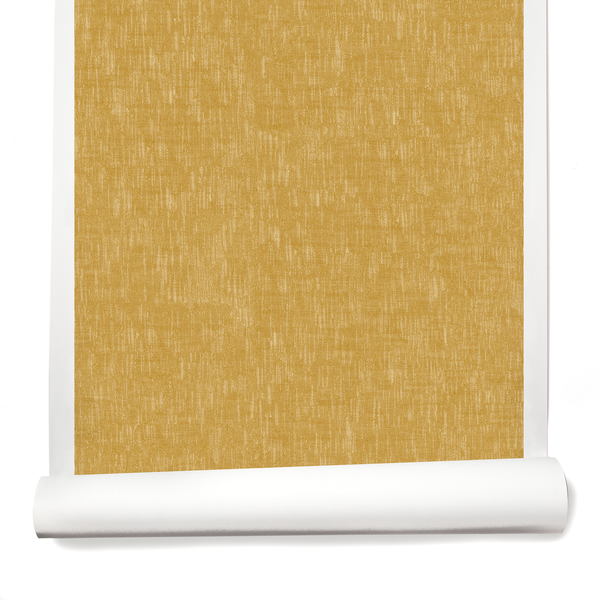
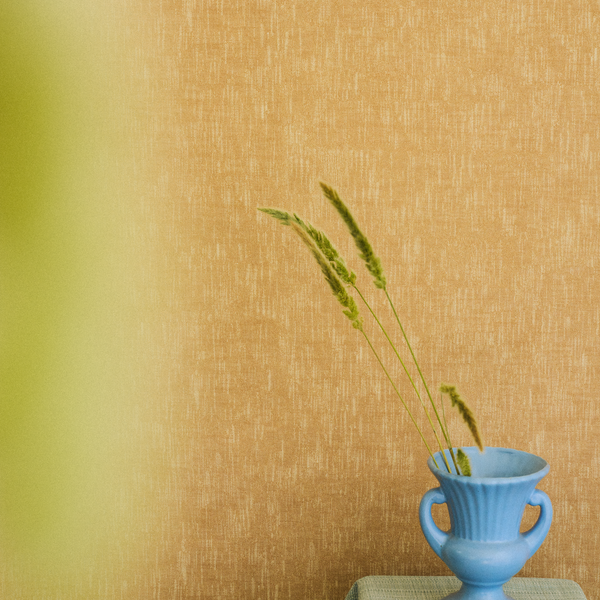
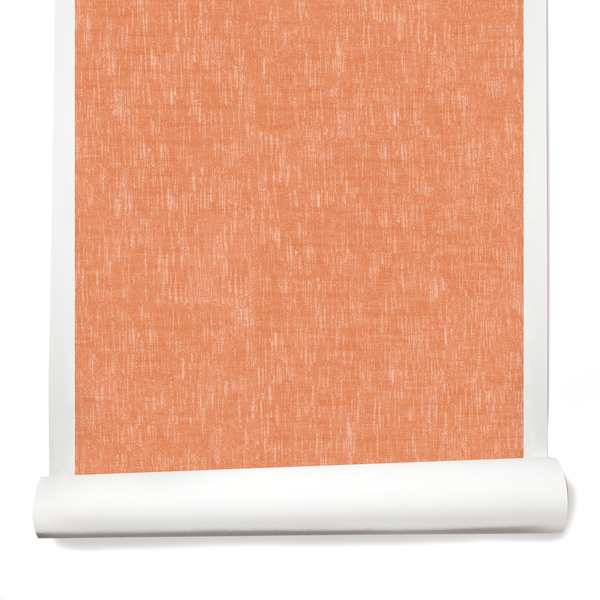
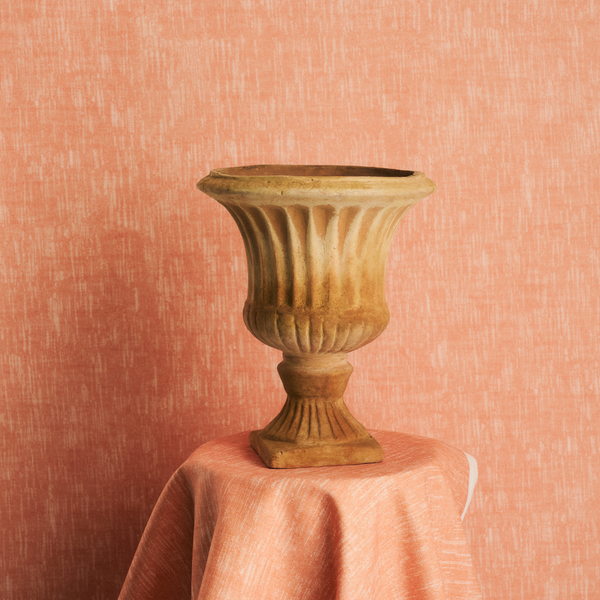
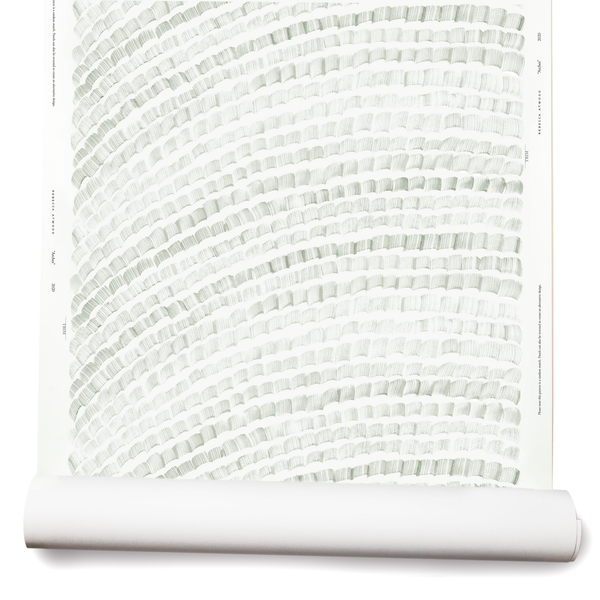
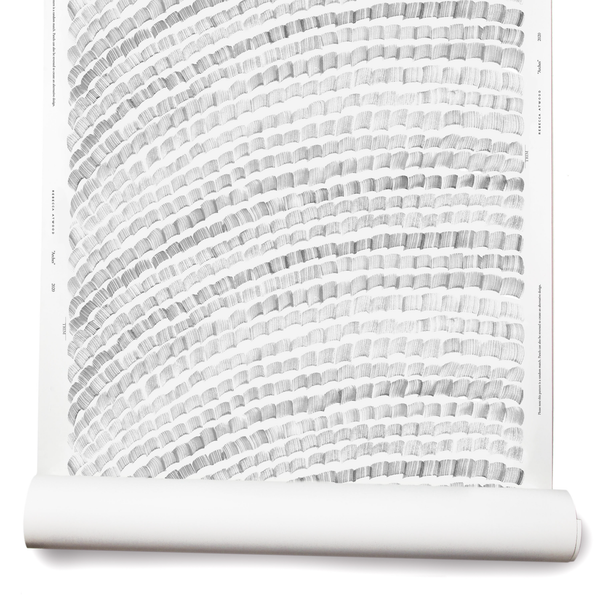
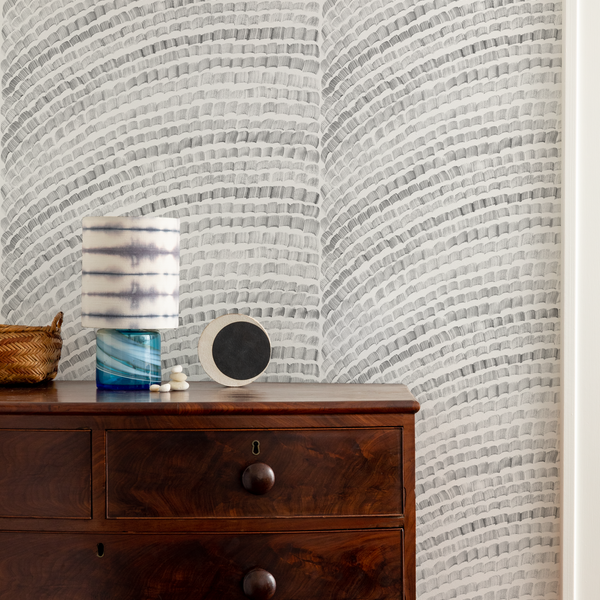
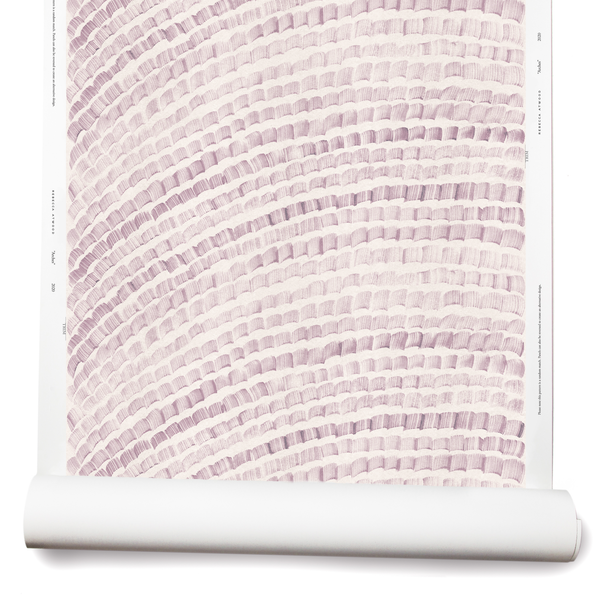
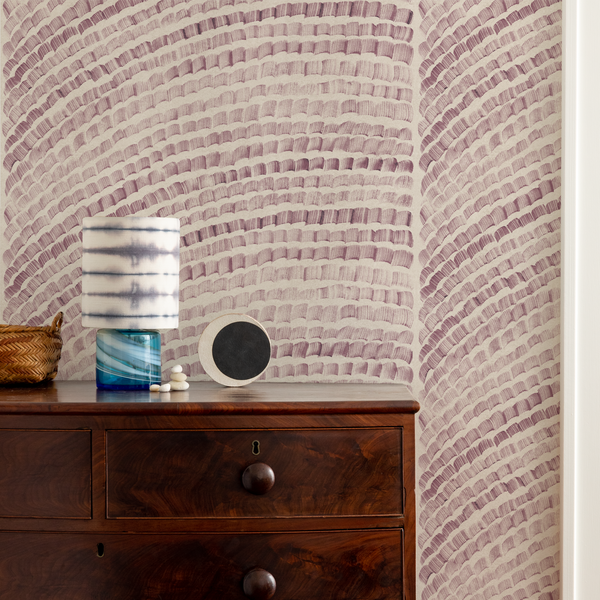
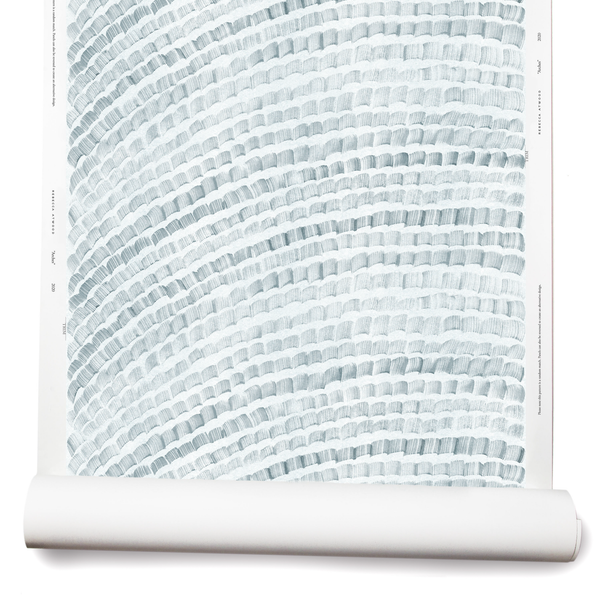
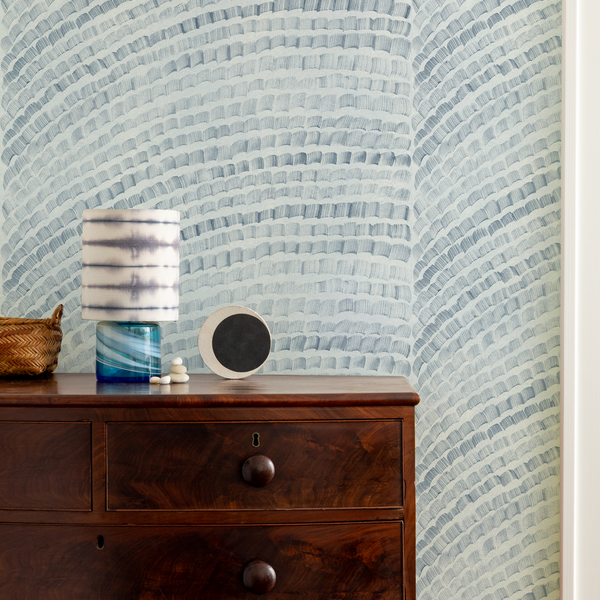
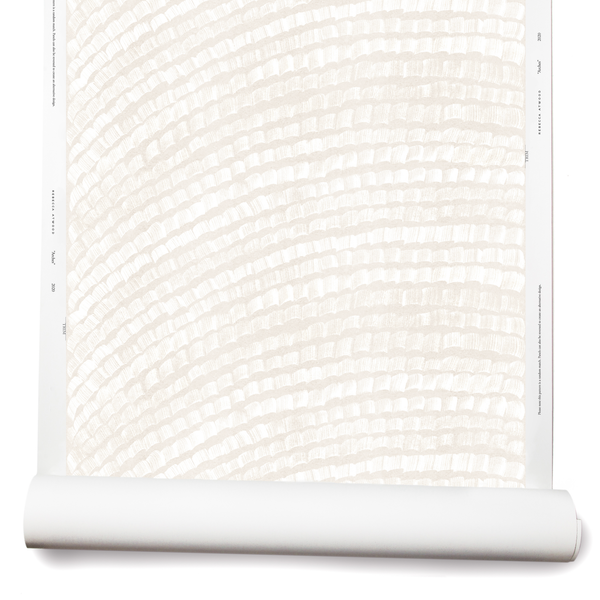
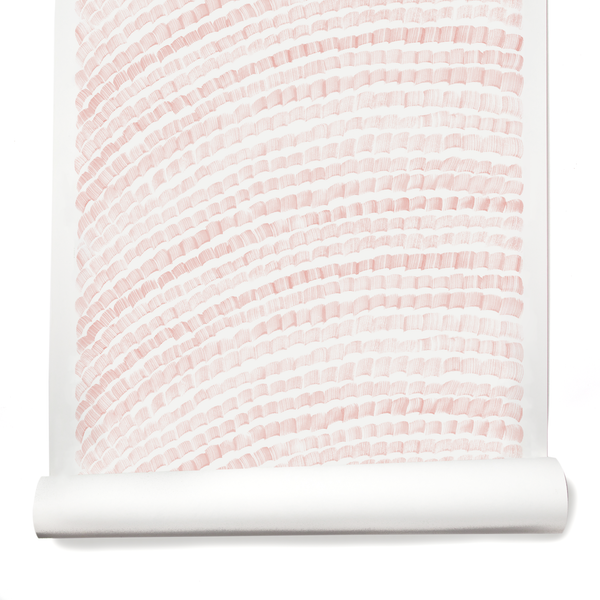
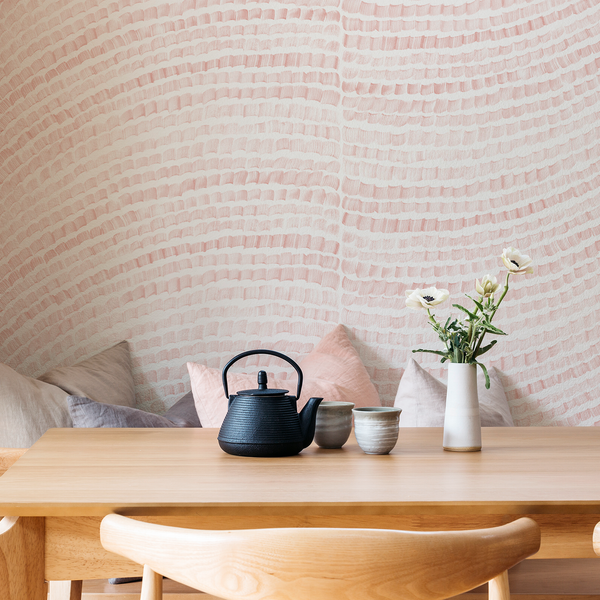
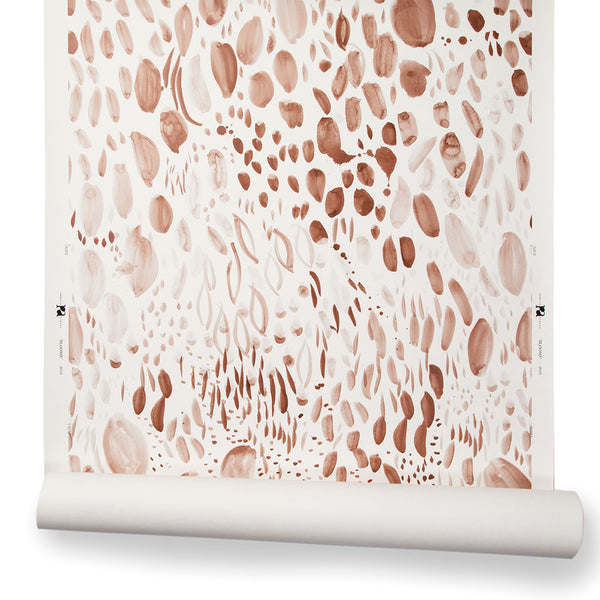
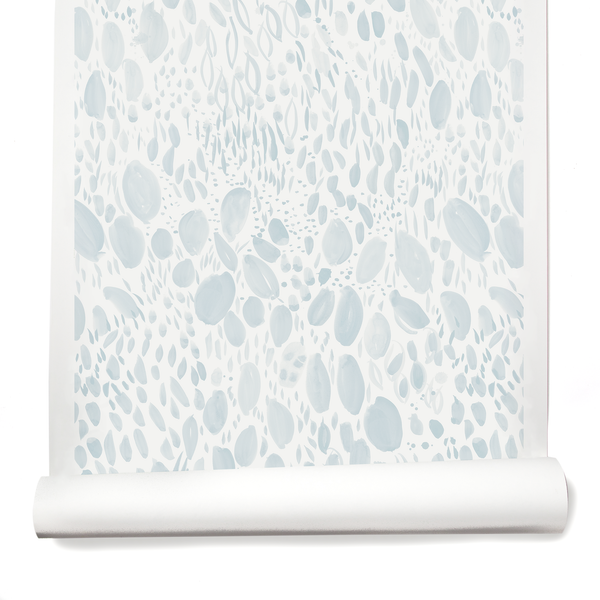
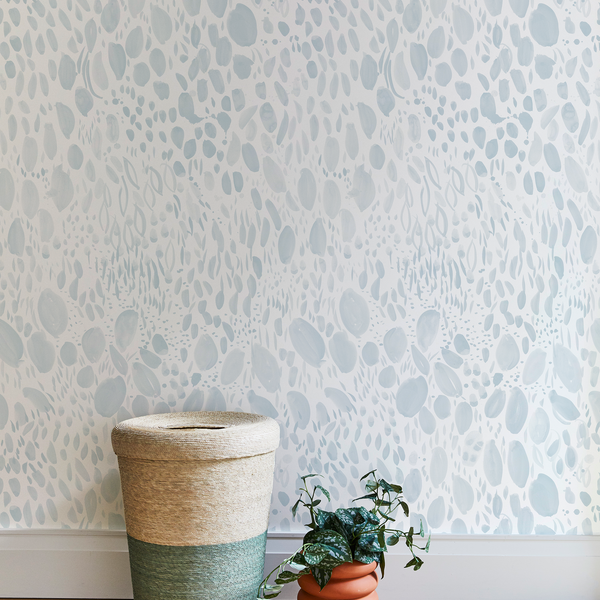
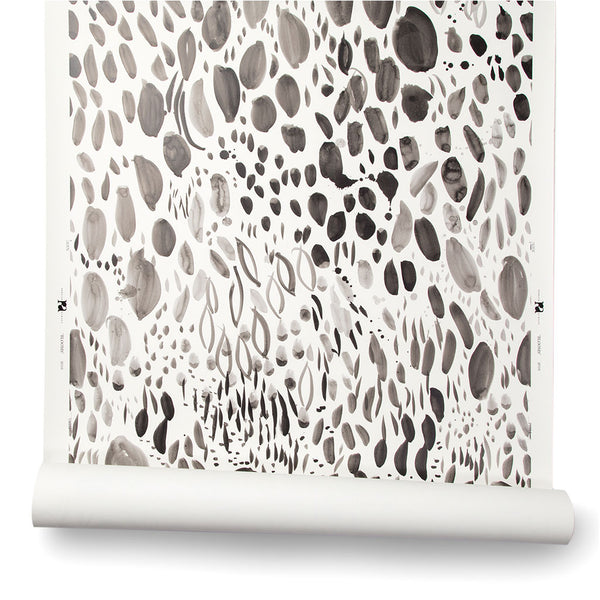
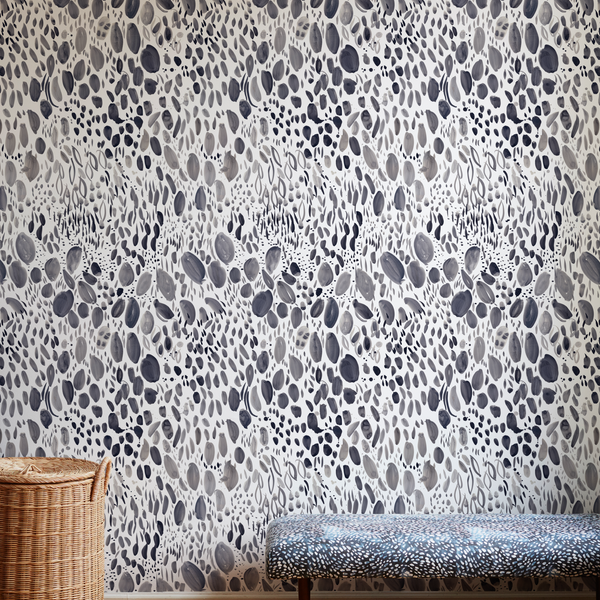
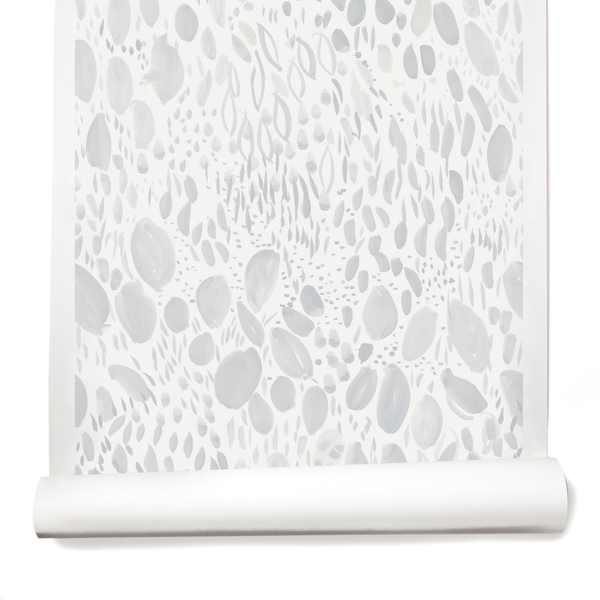
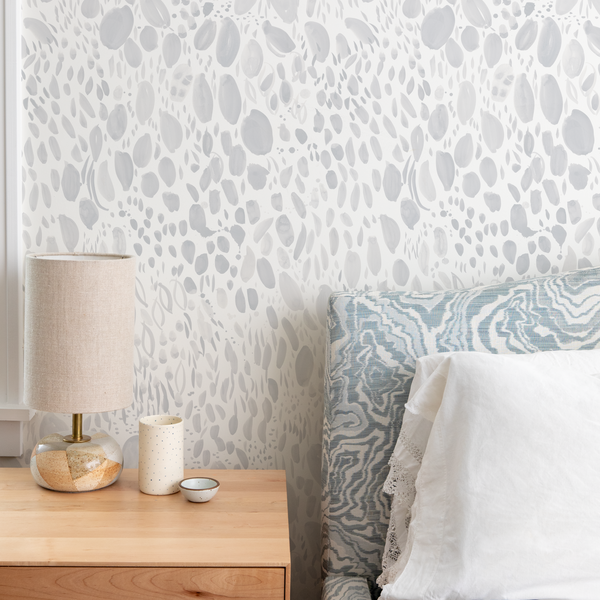
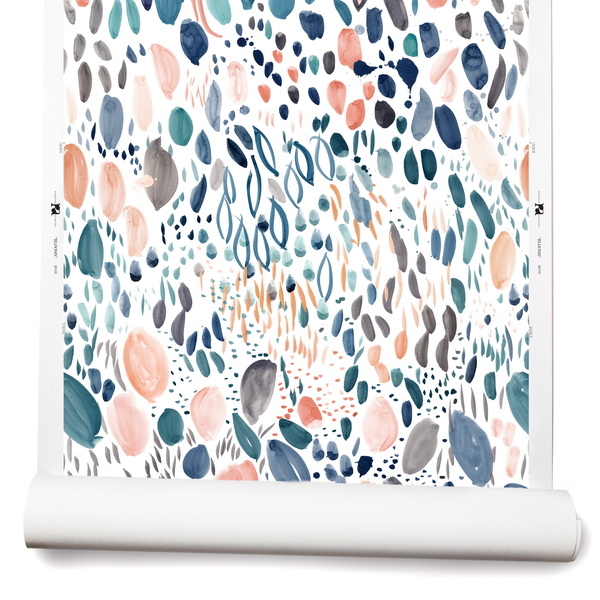
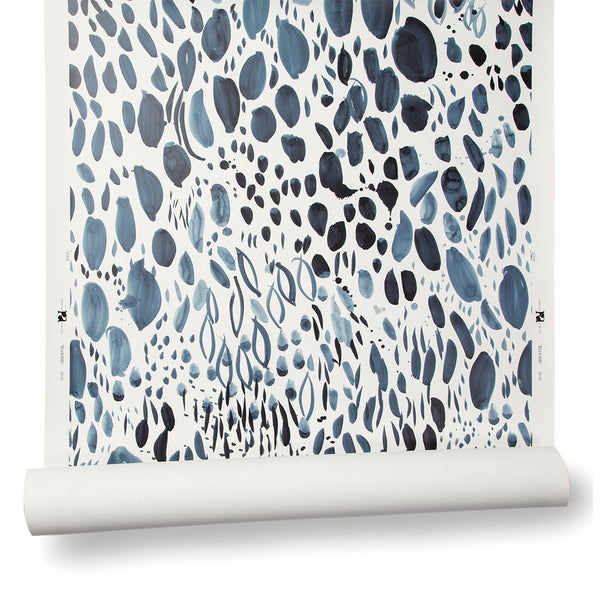
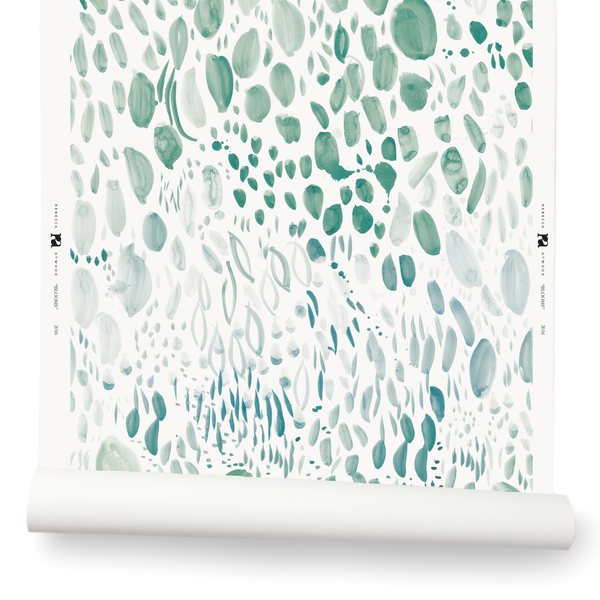
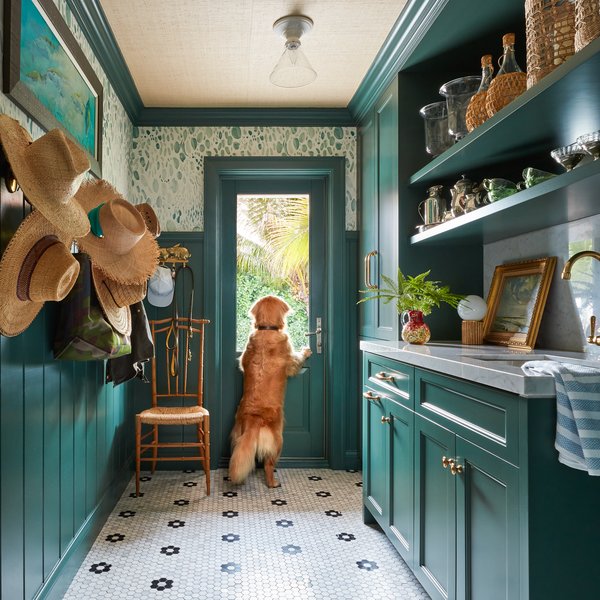
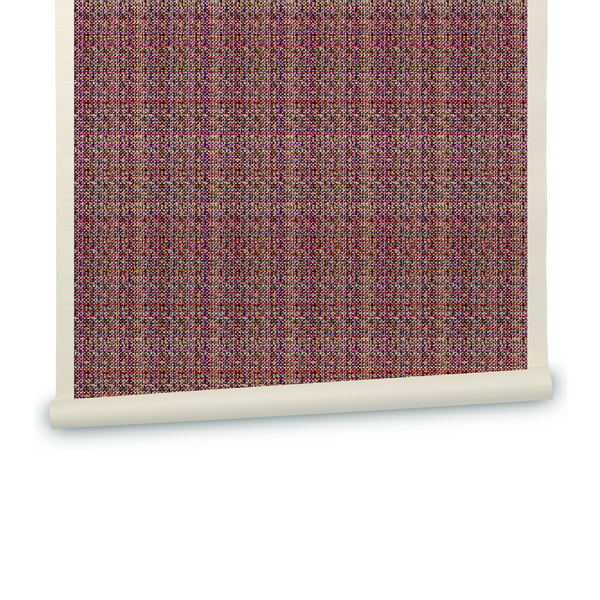
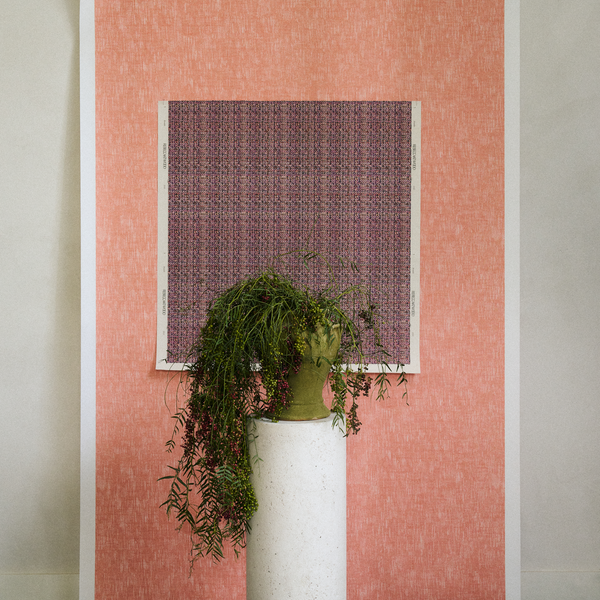
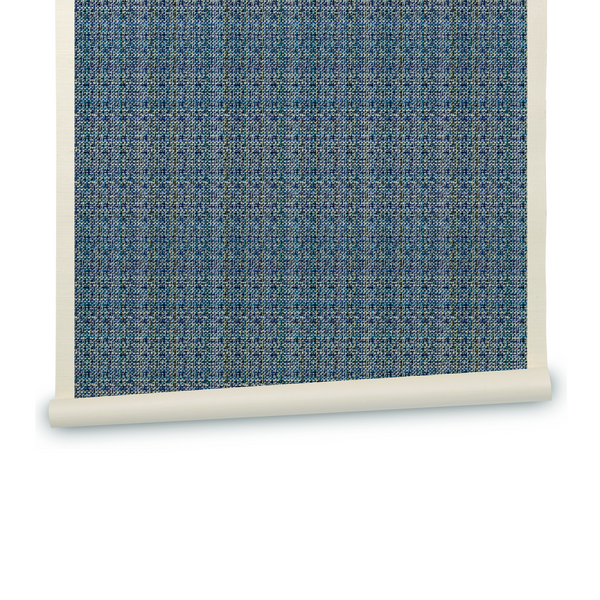
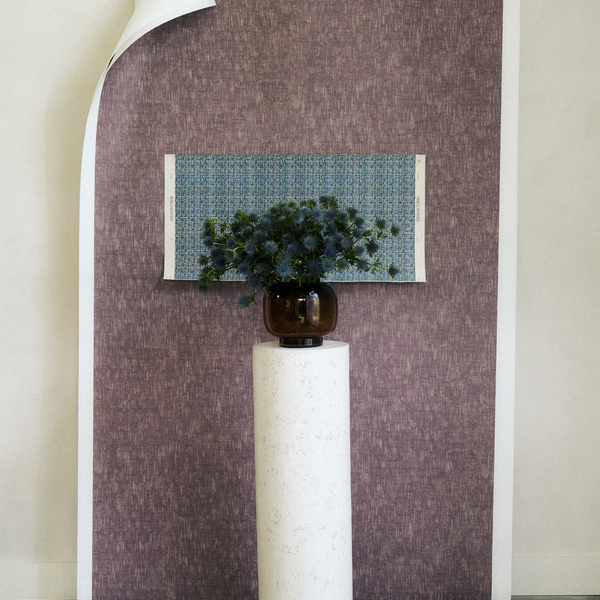
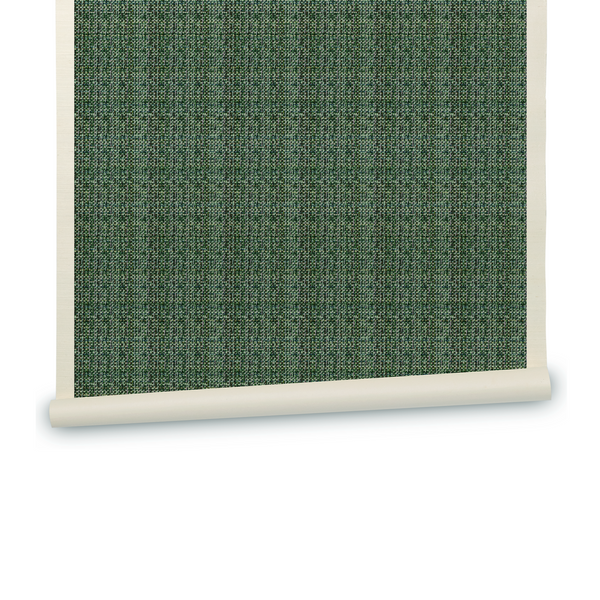
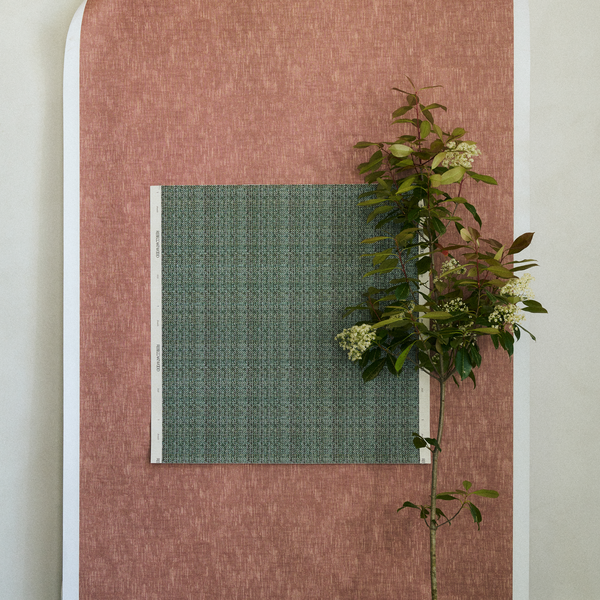
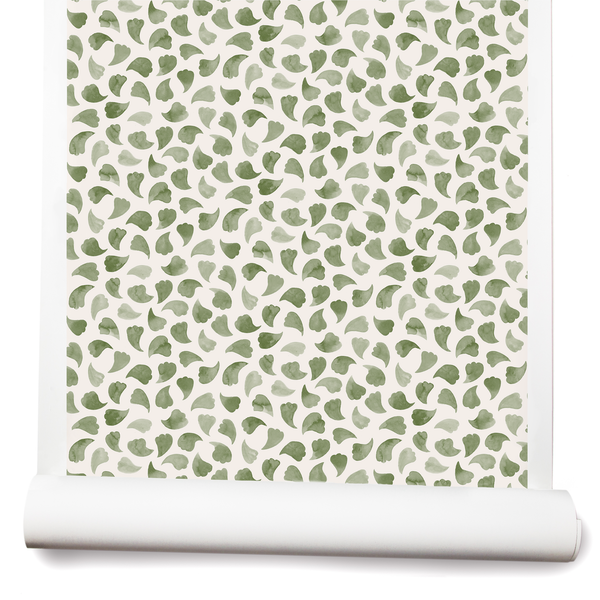
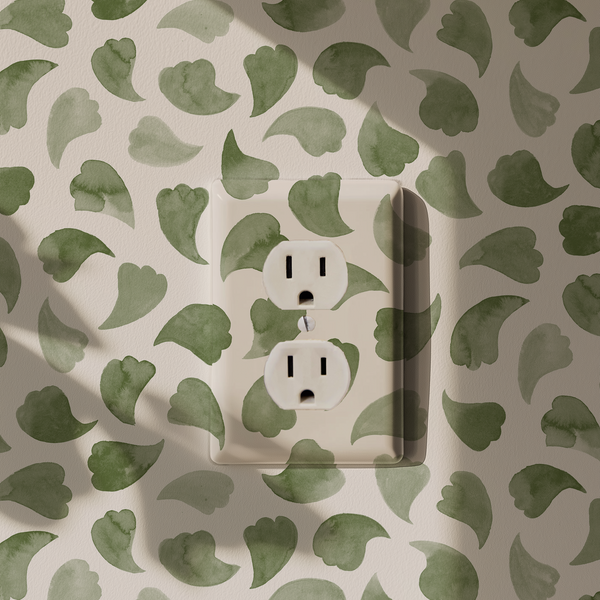
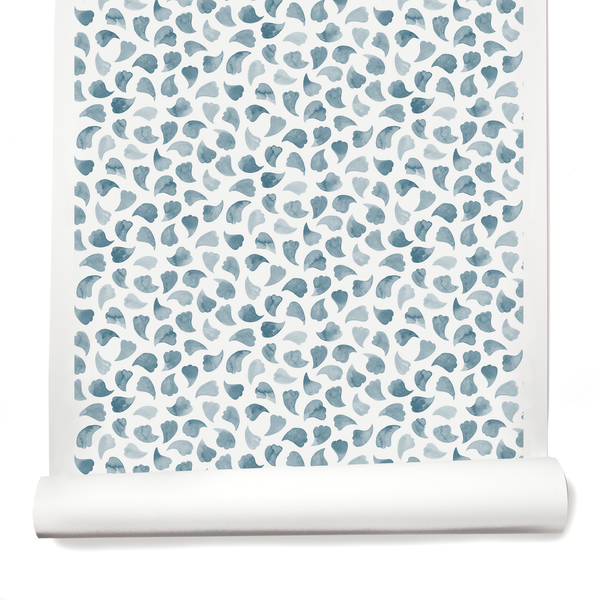
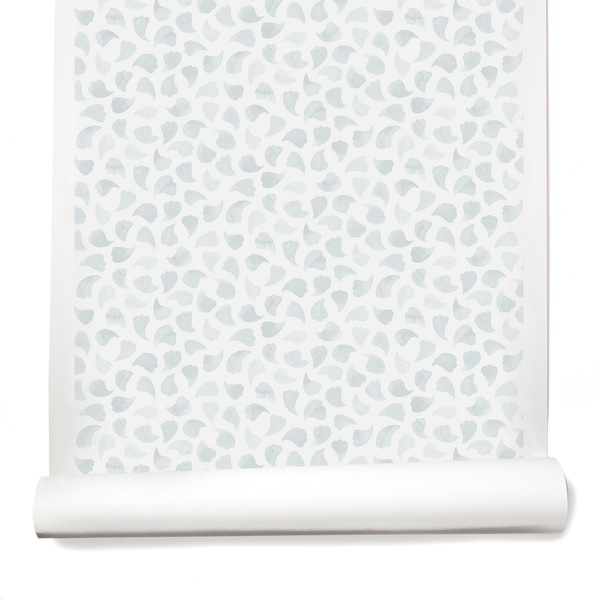
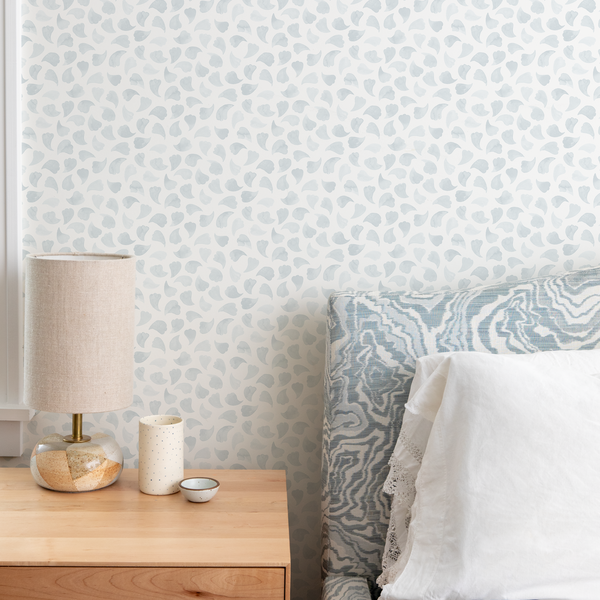
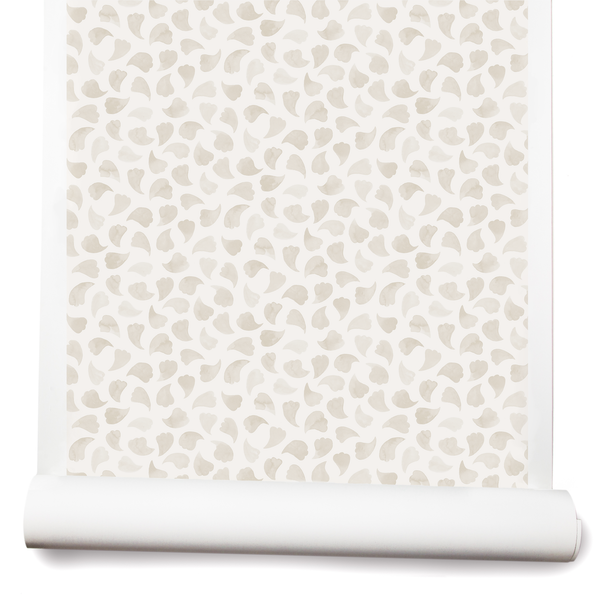
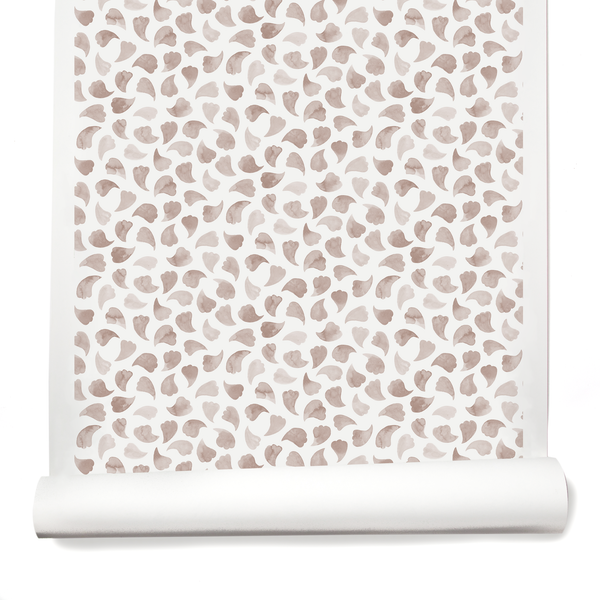
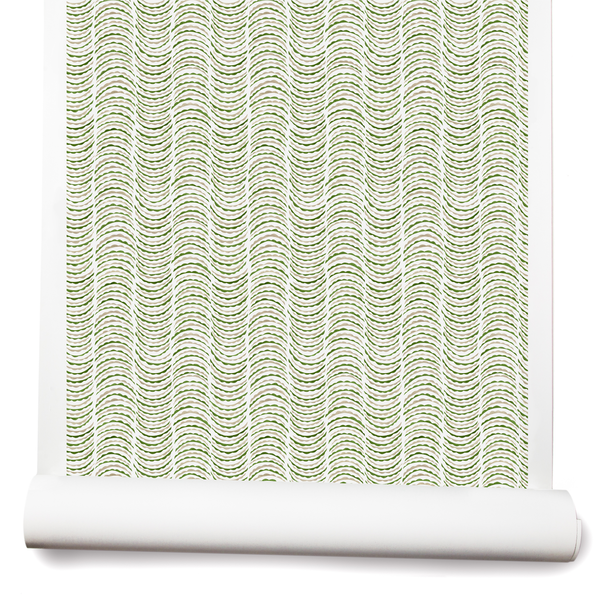
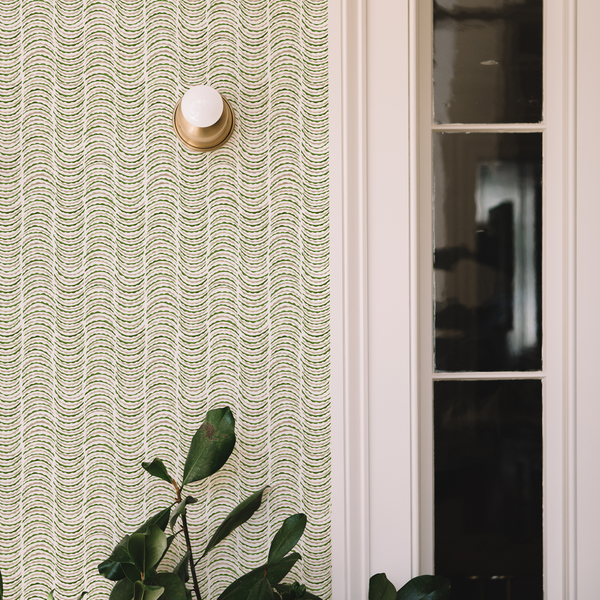
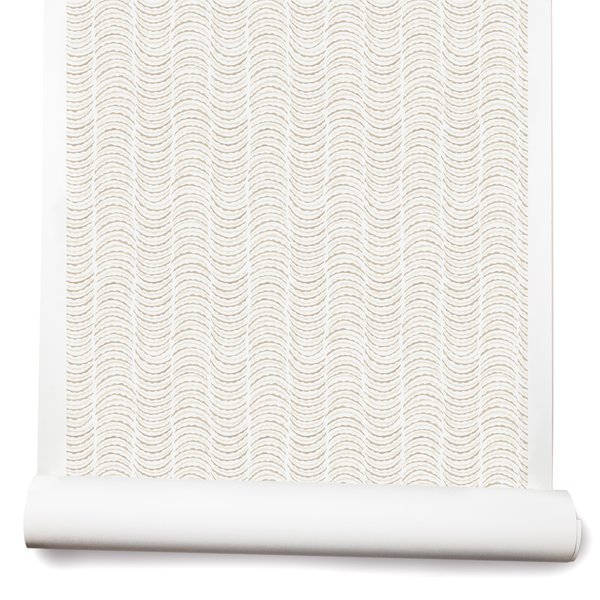
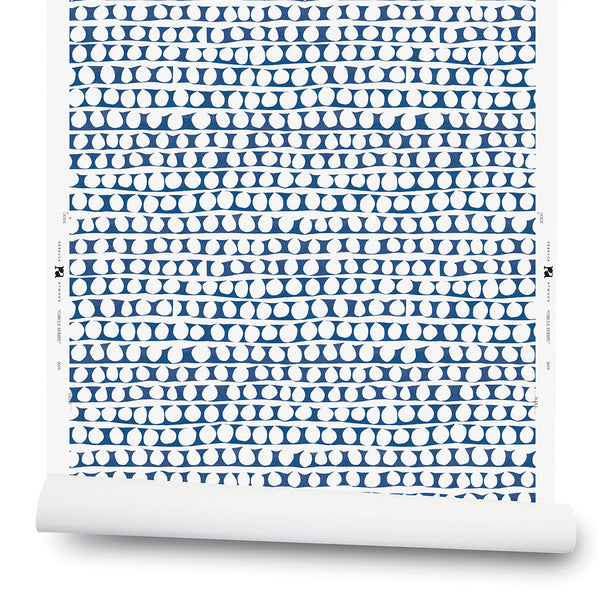
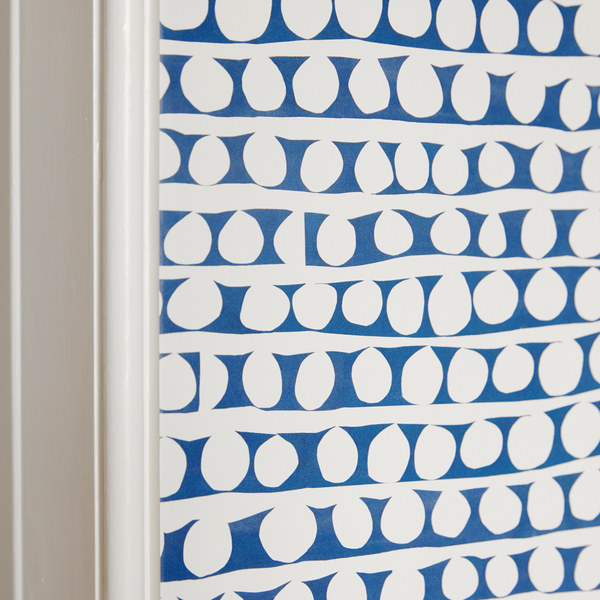
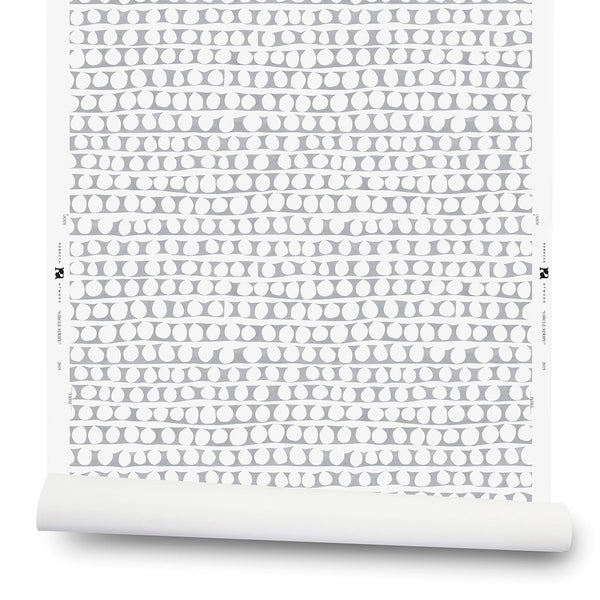
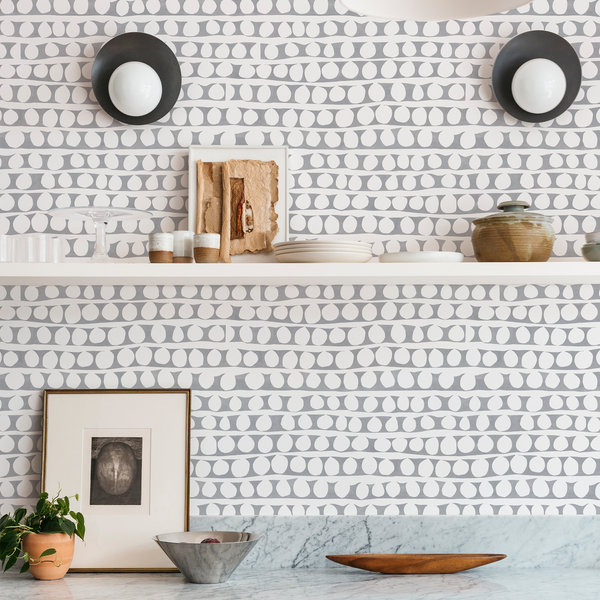
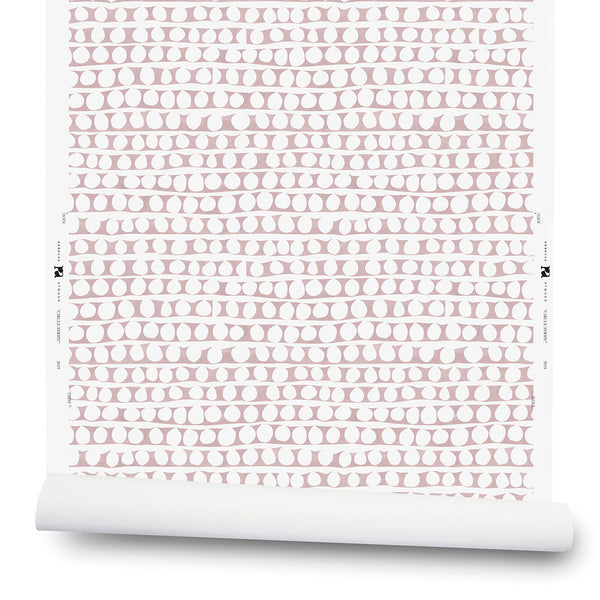
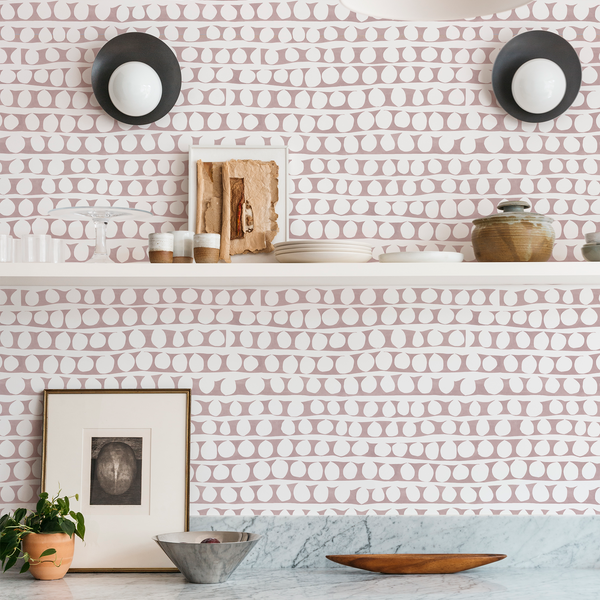
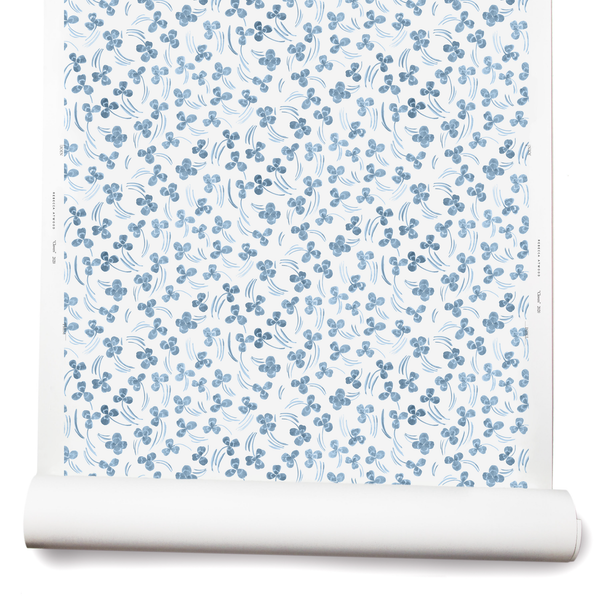
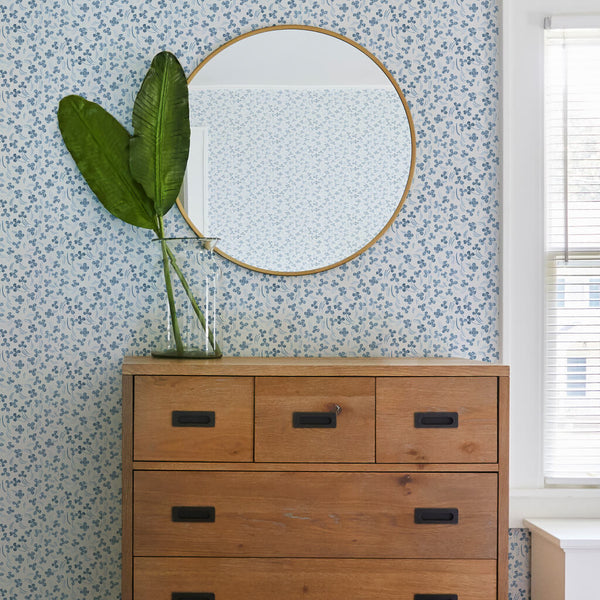
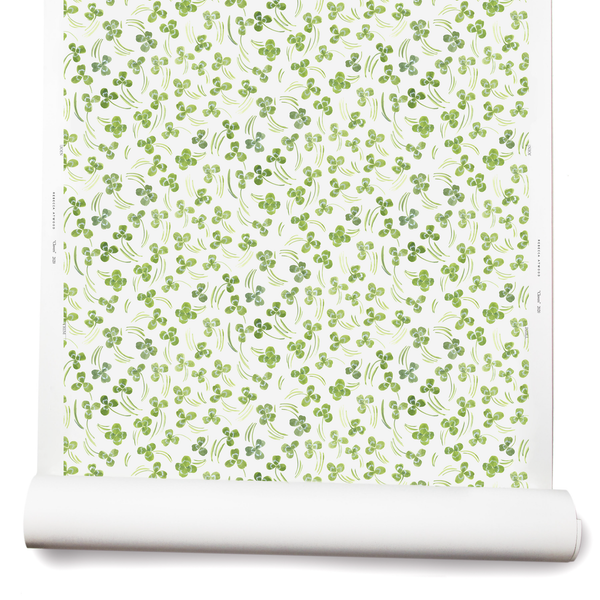
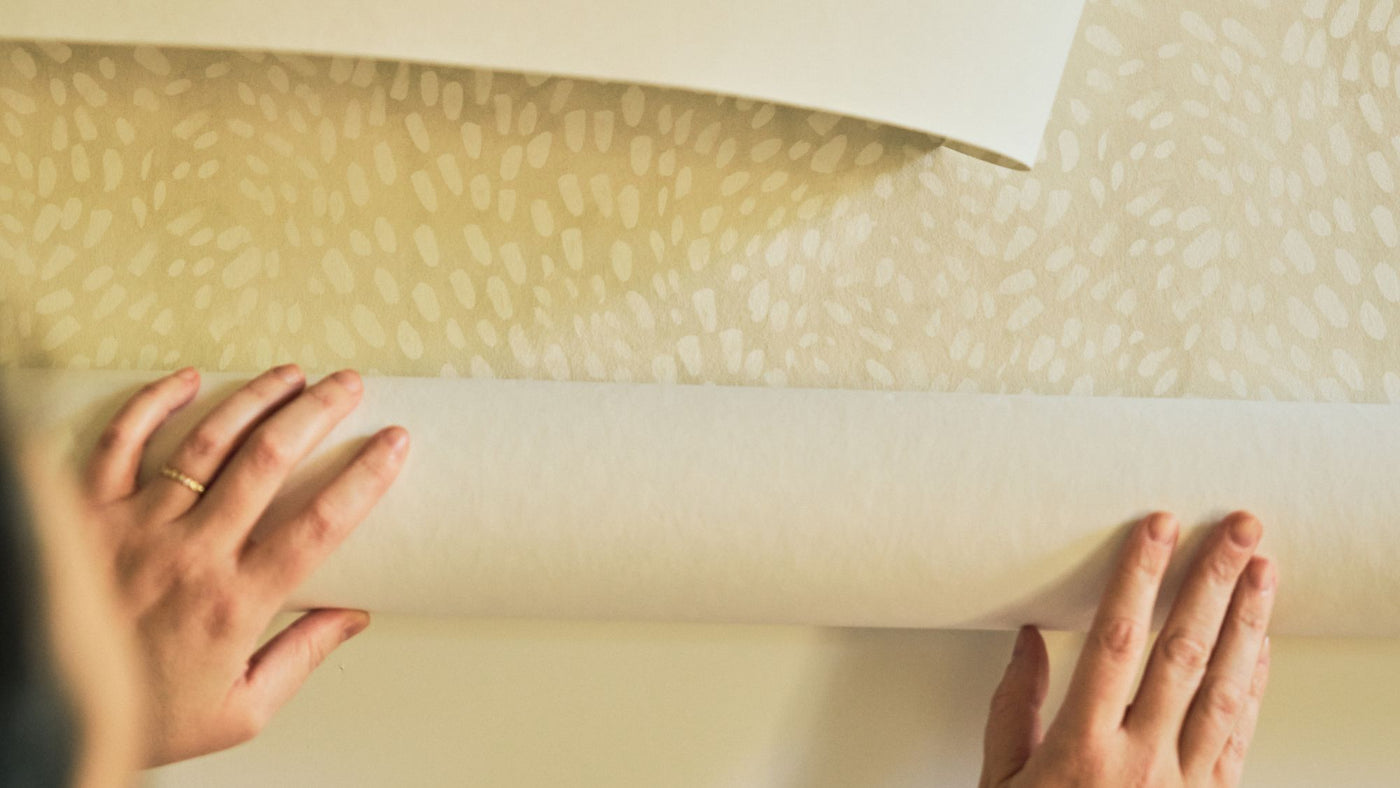
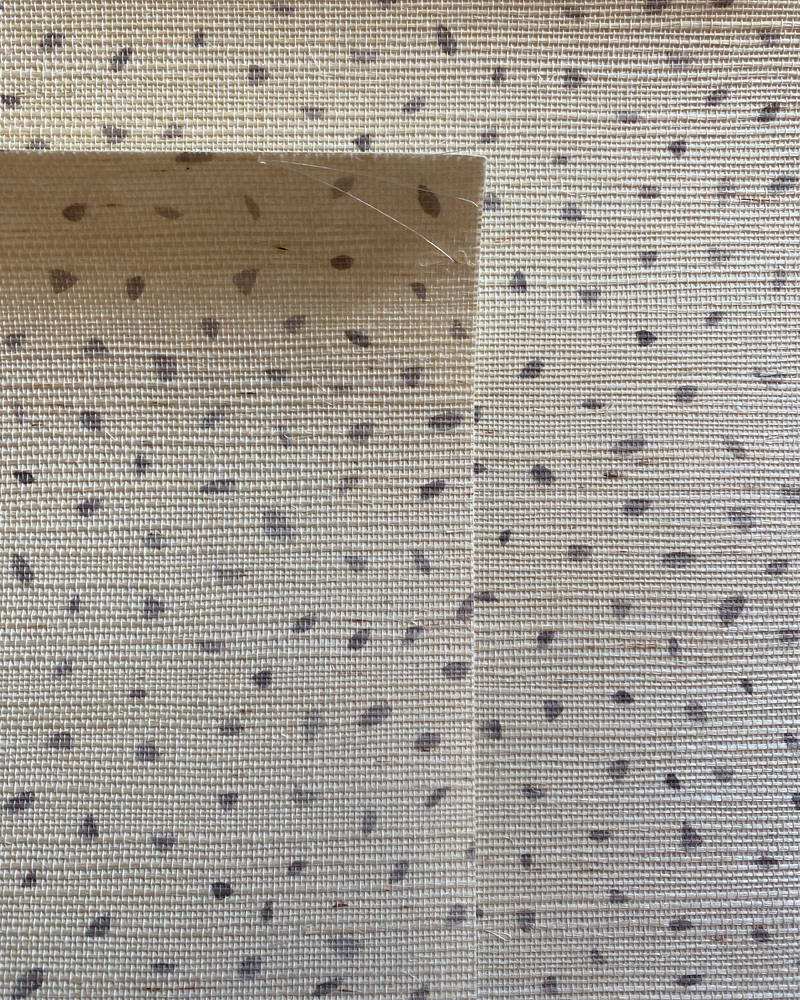
Printed Grasscloth

Wallpaper Installation
Printed Grasscloth

Grasscloth is a handmade product. It is woven with natural fibers that give the finished product a certain unevenness. Being handmade and hand stained, it is common that shades will vary from roll to roll and from end to end of a single roll. For these reasons we urge you to take extra care in examining the rolls before you hang, and during the actual installation.


Preparation

+
Warning

Do not get adhesive or water on the wallcovering surface. Any paste or water on grasscloth material will discolor and cause staining to the product.

Preparation

Remove all old wallpaper and repair damaged areas. All walls must be
smooth, clean, and free of mildew and grease stains. If necessary, apply a
stain killing primer. Be sure newly plastered walls have been washed with a
zinc sulfate solution. New, unpainted surfaces should be sealed with an oil
based primer. Follow up with a high quality wallcovering primer sold in your local paint & wallpaper stores. Do not use glue size.

Pro Tip

On all surfaces that are to be papered, we recommend using a universal, pigmented wallcovering primer/sealer such as Shields. The pigment should be the same color as the background color of your wallpaper.

Installation

+
Trimming

Our paper comes untrimmed. Refer to join marks on paper edge for pattern match (half drop/straight match). Use trim marks provided to trim selvedge from edges of paper. We recommend table trimming prior to hanging.​

Alignment

Create a plumb line using either a laser or by drawing with a straight edge and level. Use only a lead pencil for marking walls and back of wallcovering. Do not use ballpoint or marking pen as they will bleed through the surface. This will be your guide for positioning the first panel.

Adhesive

We recommend a cellulose paste or a premixed heavy clear
adhesive.

Pasting

Apply adhesive evenly to the back of the strip, being careful not to get adhesive on the face of the material. Paste only one strip at a time. Book the paper by loosely folding the pasted sides together without creasing. Align the edges carefully so the paste doesn’t dry out. Gently roll the booked piece to ensure the pasted sides make good contact. Allow to soak and expand for 3-5 minutes. Time is subjective to heat or humidity at job site. Don’t allow to soak too long in a dry environment as it may dry out the glue.

Hanging

Unfold the piece and bring to the wall to hang. Position the first panel along the plumb line. Carefully smooth all air pockets, wrinkles or excess paste from the center of the strip to the edges. Do not use seam roller as this can discolor the surface. Repeat the procedure with the second panel, sliding it into position with its edge butted up against the edge of the preceding panel. Be sure to match up the design. Do not overlap the wallcovering. Trim excess at floor and ceiling using a sharp utility knife.

Alternate Procedure

Apply the adhesive to the wall surface. Using a damp sponge, moisten the back of the strip being careful not to over soak. Book and roll the strip, allow to sit for 3 min. Bring to the wall and hang as described above.

Notes

+
Best Practices

Do not use seam roller as this can discolor and alter the texture of the wallcovering.

Use care to insure the material is not allowed to become too wet (since the woven material adheres to the backing paper through use of special glue, prolonged soaking can soften the glue and cause the grass to separate from the back paper.